Strip
Generally details the strip-down, scrape, clean and removal of panels
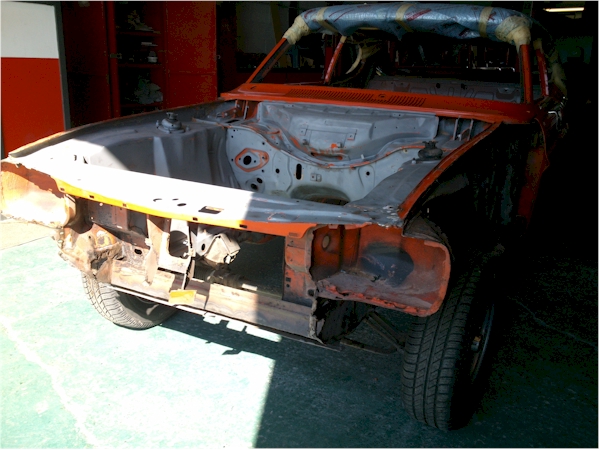
Awaiting Panels…
No we’re at the stage of waiting for the main panels. We’ll do a little more cutting and blasting but we really need the wing rails, inner sills, headlight bowls and A post repairs next.


But the good news is that we’ve not found any more serious rot, but we probably have enough for this project already. Overall, it’s a risty Capri shell but there are some pleasant surprises that should make this a really good mark 1 facelift when it’s finished.
I’ll be chasing Expressed Steel panels next week so, fingers crossed
The First Blast…
Now we’re able to really see what needs to be replaced and what we should try and salvage and repair.
The list of replacement parts is beginning to grow quite a bit now, and include:
- Left and right rear arch repairs
- Left and right rear inner arches
- Left and right front hangers
- Two out-riggers
- Left and right inner sills
- Left and right outer sills
- Left and right lower rear corners
- Left side boot floor drop
- Left and right A post repairs
- Batter tray
- Closing panel
- Crossmember
- Front valence
- Slam panel
- Left and right radiator mounts
- Wind top rails
- Left and right inner wing re-enforcement panels
Now we’ve got quite a few of these pieces already but a few, like the inner wing re-enforcement plates are going to be a bit more tricky to locate.

And we need some good inner ring top rails, to try and avoid having the replace the inner wings. OTher parts, like the floor areas and the lower section of the rear quarters will just have to be hand crafted and repaired
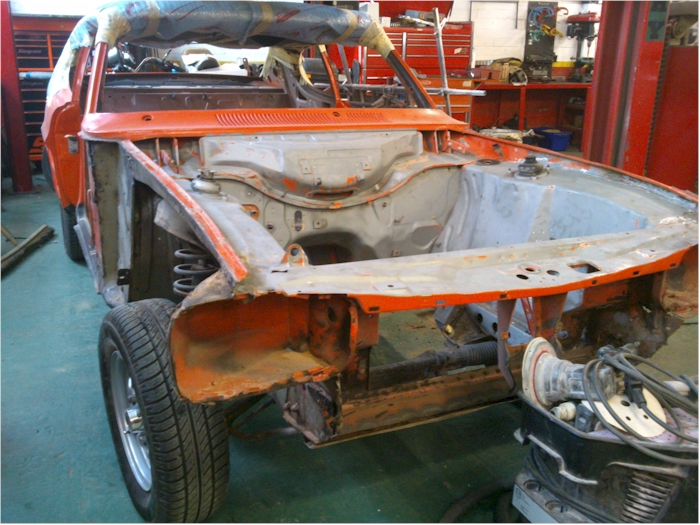
Scrapping Continues
Scrapping and cleaning has continued for a third week now, with short breaks due to the weather. The clean has included a wash down in a petrol & diesel mix
The end result is looking good though. The middle section of the floor (ignoring the sills and floor edge) all looks very good for a car of 41 years. The front end is not so good though. Missing edge on the top of the inside wings, and some rust at the bottom
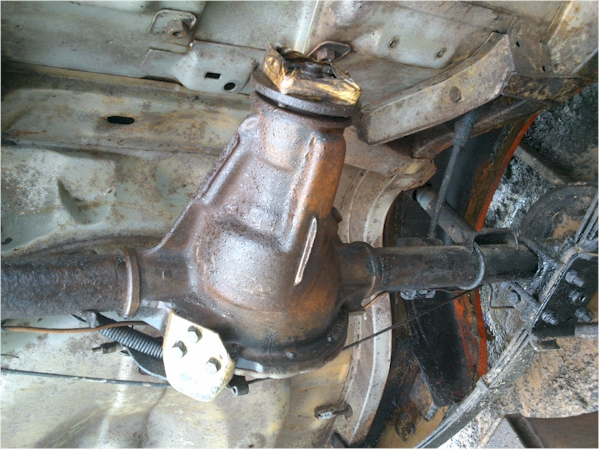
The back axle and back of the car has cleaned up nicely too
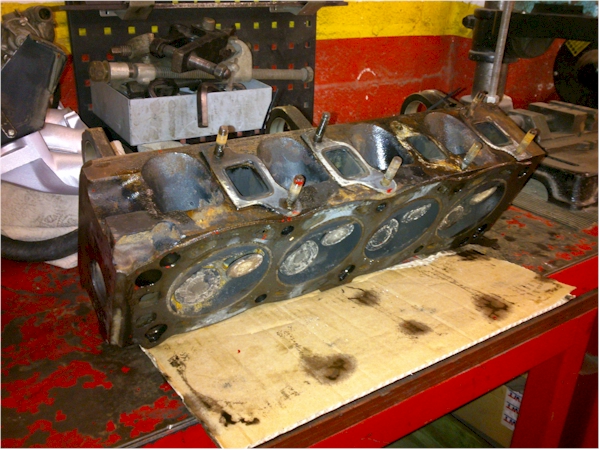
And the cylinder head is back, having been lightly skimmed and with new exhaust valves and hardened valve seats


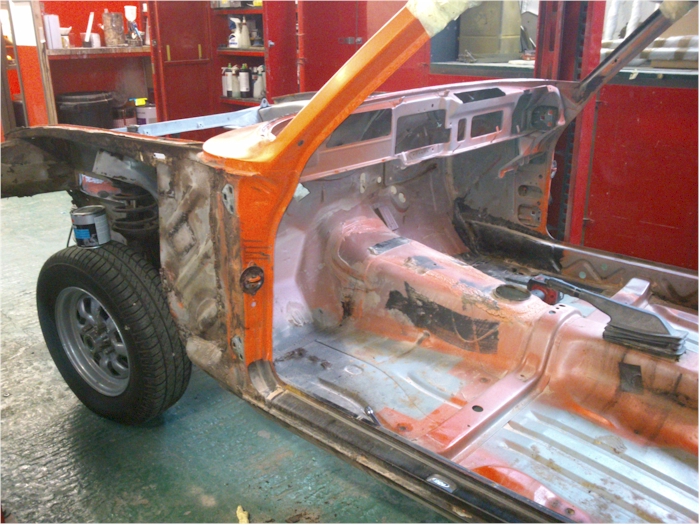
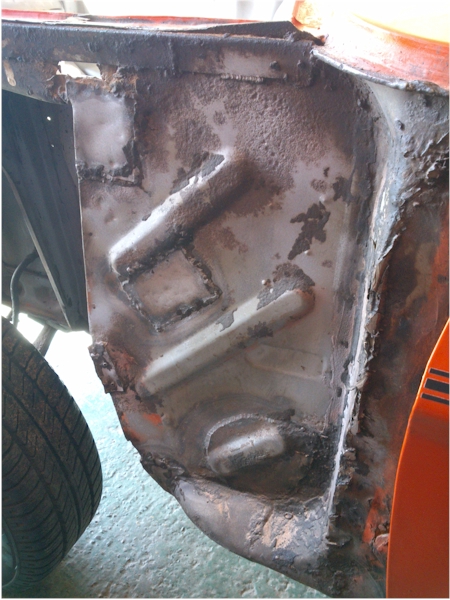
First Sill Off
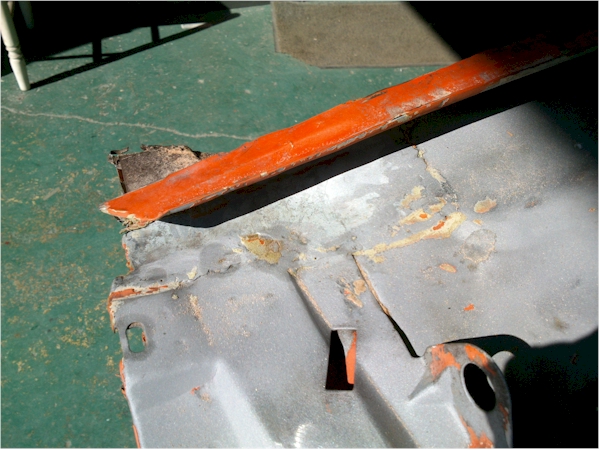
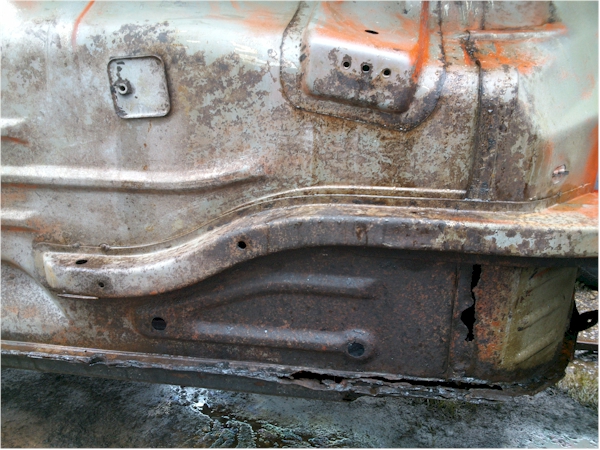
The first sill (offside) has now been removed, along with the offside wing. Now we can begin to see the scale of work required to rebuild. We definately need to replace the inner sills. The lower section of the read quarter looks pretty bad too and will need some panel repairs. But at least the offside A post looks reasonable and should be able to work with it.

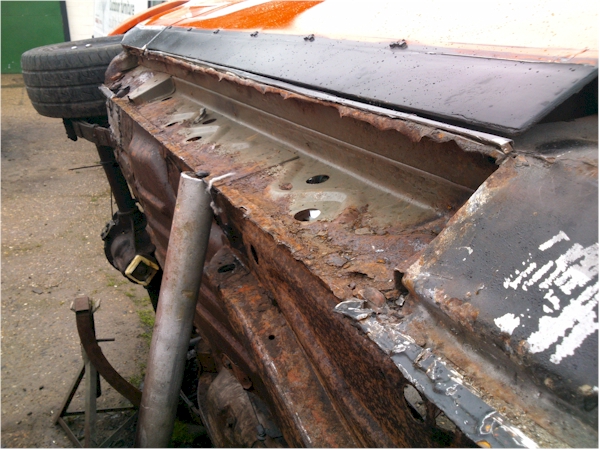
The front inner sill has had a bad replacement pane hammered into shape here. This’ll need work.

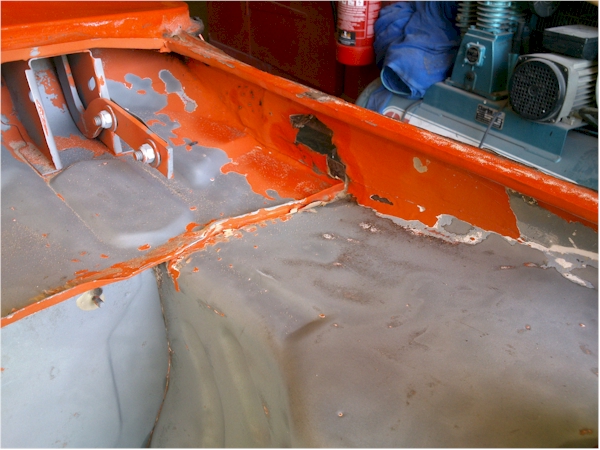
Still Scrapping
We have now ordered various replacement panels from Expressed Steel, some of which should arrive in a couple of weeks. We’ve also purchased a couple of NOS items locally too
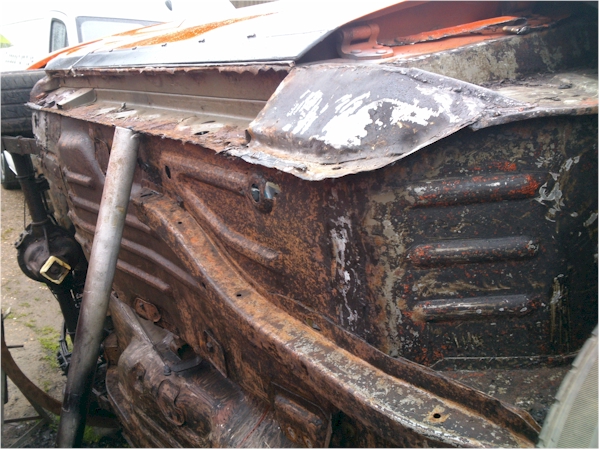
Scrapping underseal off the underside has continued for another week and is making good progress, including the inner front wings. And we’ve not taken the outer wings off yet.

The front sections of the floor, offside and nearside are a bit rusty. The nearside is worst, along with it’s A post.
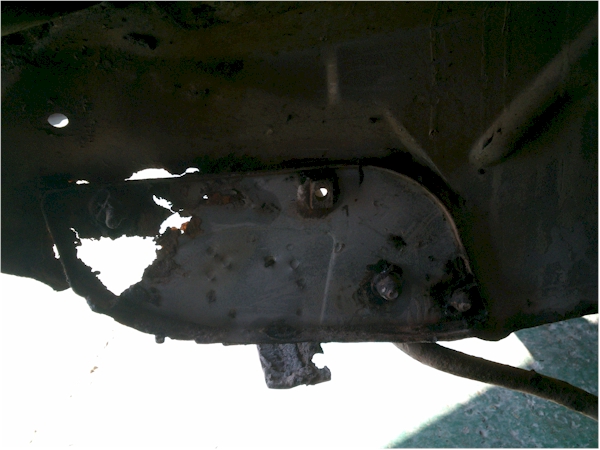
And both of the offside and nearside forward rear hangers have both been patched aswell. This will all need to come off, once the replacements panels (ordered) have arrive in a couple of months

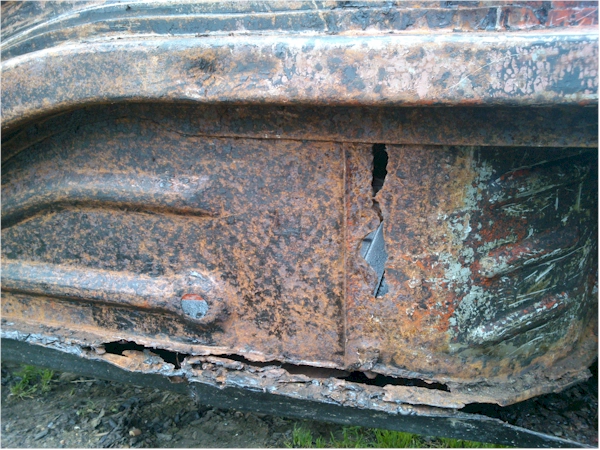
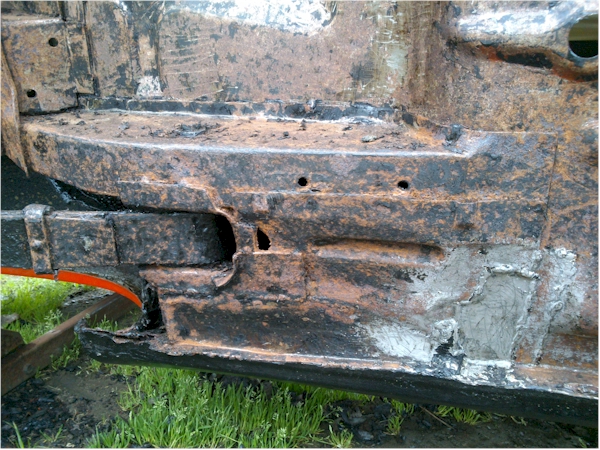
The nearside rear wheel arch edge is bad but, it looks like we might be OK with arch repairs, rather than complete quarter replacement.

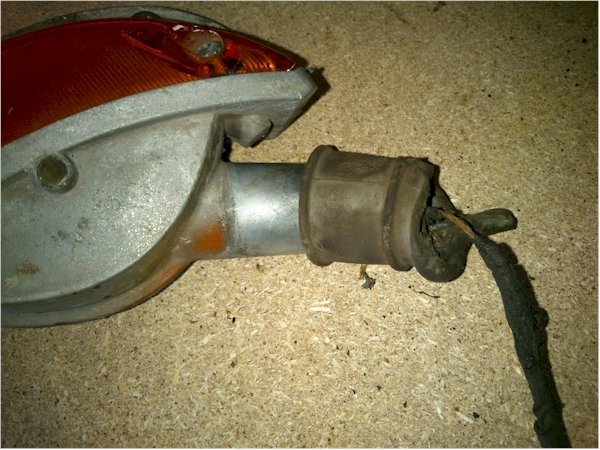
Been busy working on the two front indicator lights. These are in good condition except that both the rubber boot and the wiring has melted and needs to be replaced. Now, will Escort indicator boots fit?
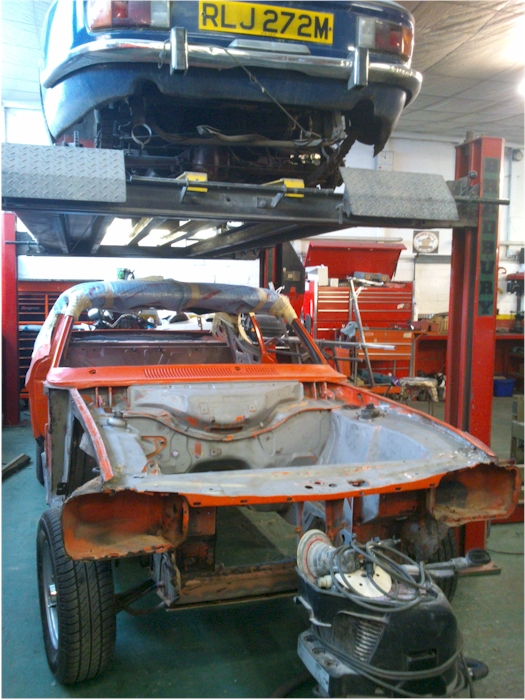
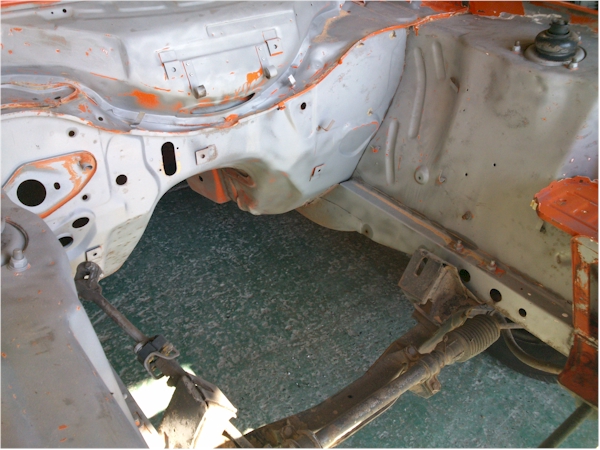
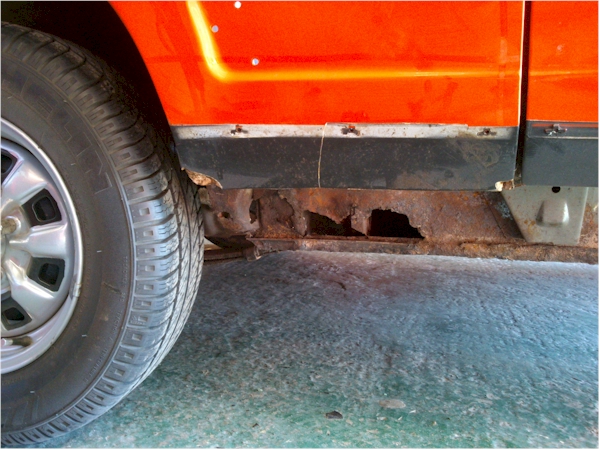
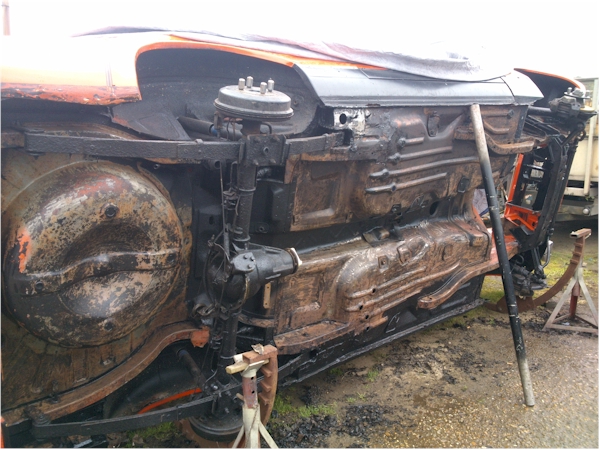
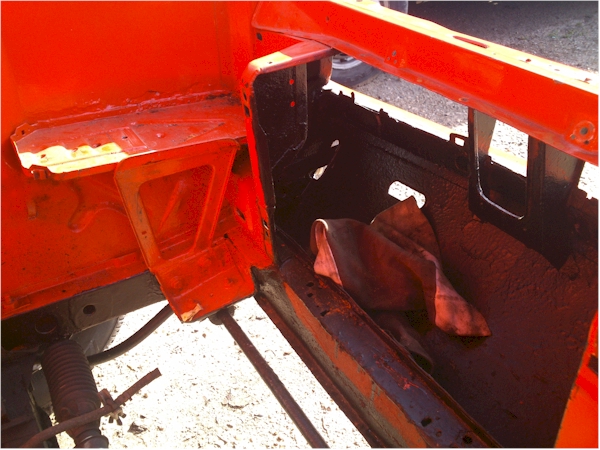
What Lurks Beneath
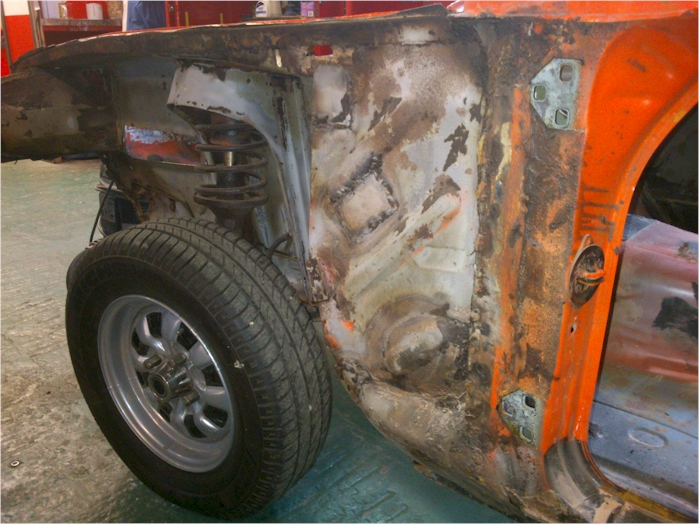
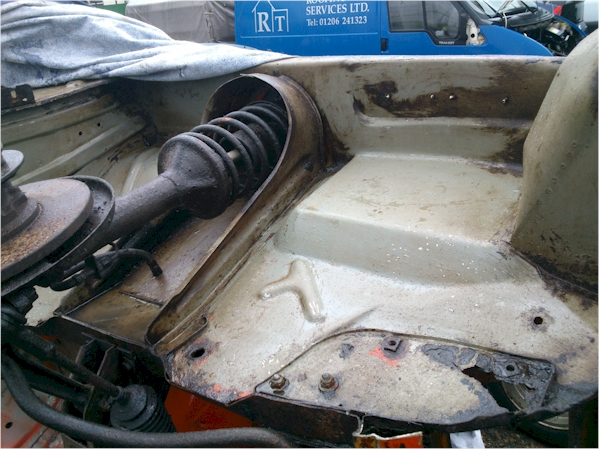
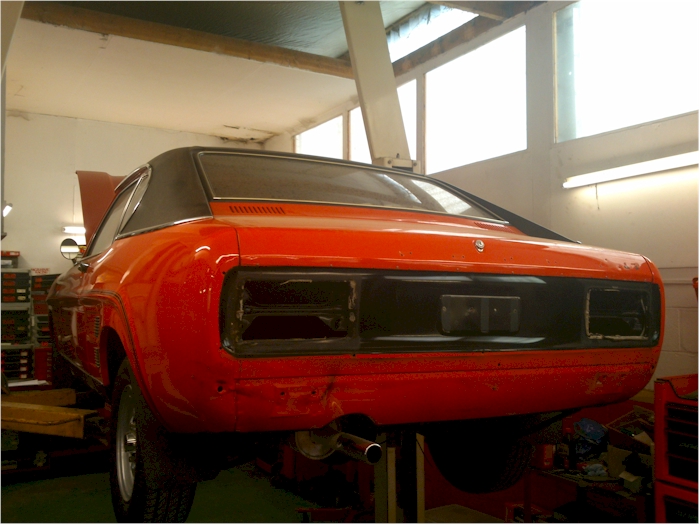
The worst job of them all has begun. Zippy’s now propped on one side so all that black under-seal can be scrapped off the bottom by hand.


The rear arches (inner and outer) are pretty bad along with the sills. But the middle section of the floor and the rails all look OK really. Notice that Zippy seems to be missing outrigers. Presume that someone cut these off and never replaced them!


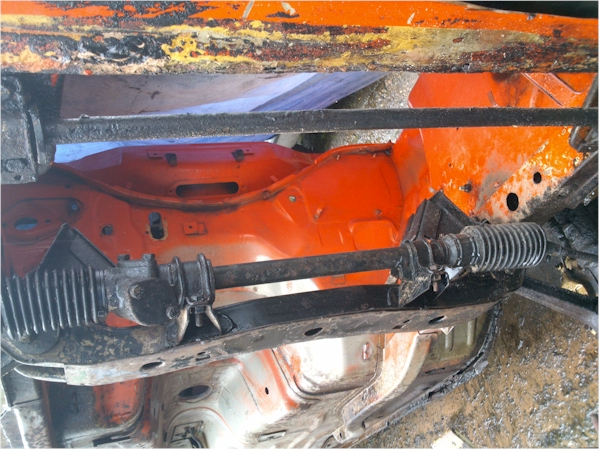
The front of the car will need a lot of work. But I’ve been offered a good genuine Ford valence, which is a good start. The bonnet and boot have been sandblasted and found a couple of holes that’ll be lead loaded. Top end of the engine is being stripped down ready for hardened valve seats etc.


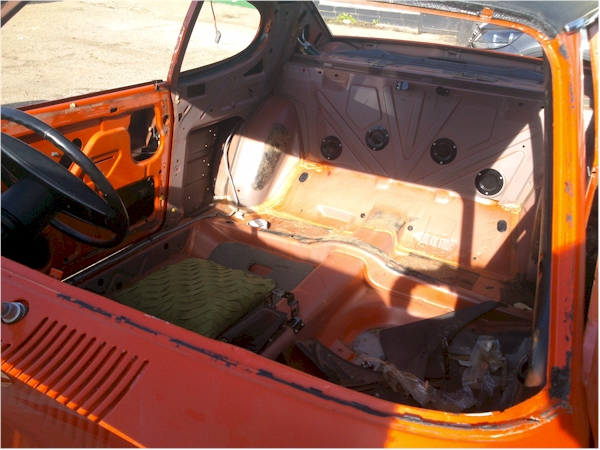
Engine Out
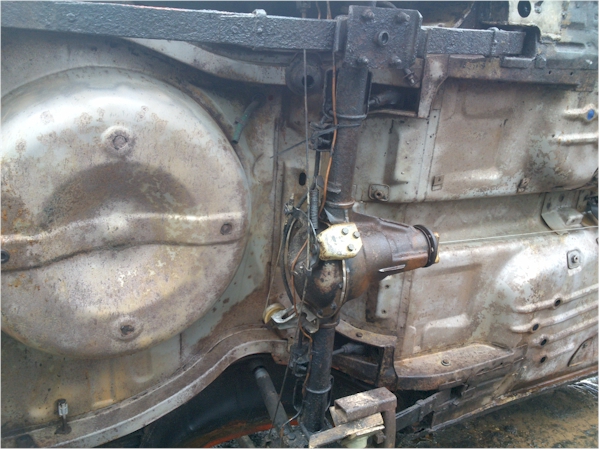
The engine and gearbox have now been removed, steamed cleaned and stored away. We’ll look at those much later in the project, once the bodywork has been sorted out. We’re not expecting too many problems with the mechanics. And the remaining bits of external trim have also been removed aswell and I’ll be refurbishing, cleaning and/or replacing over the coming months.
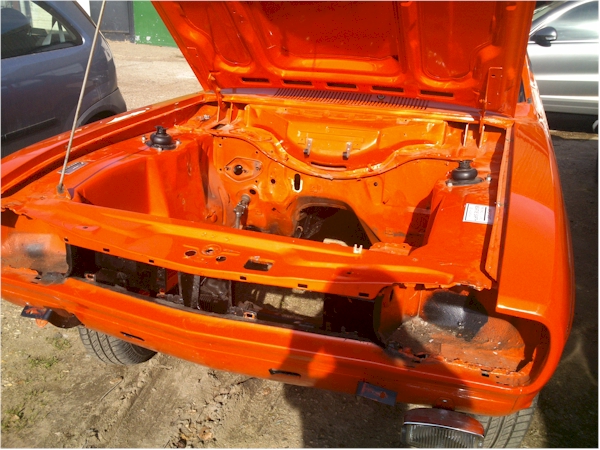
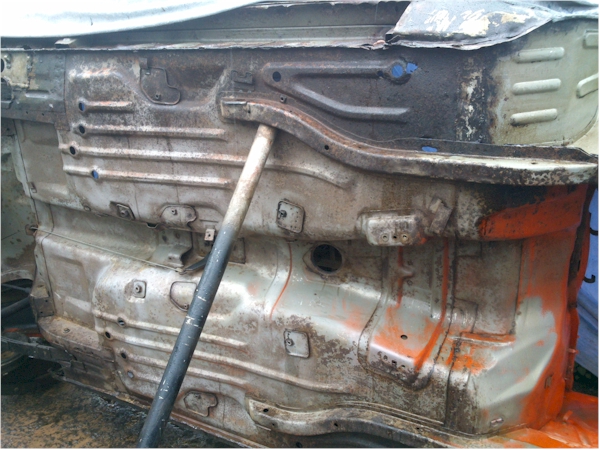
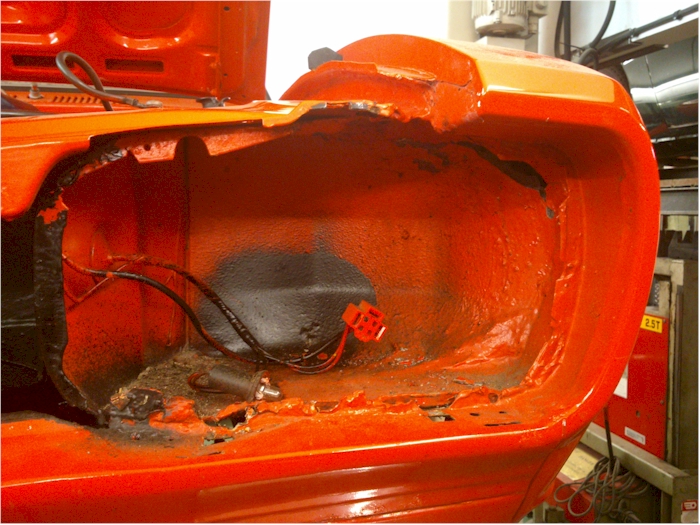
A lot of the underseal plastered around the engine bay is still very sticky. This must have been applied quite recently. We can also begin to see some of the holes and dodgy plates in the floor of the car aswell.
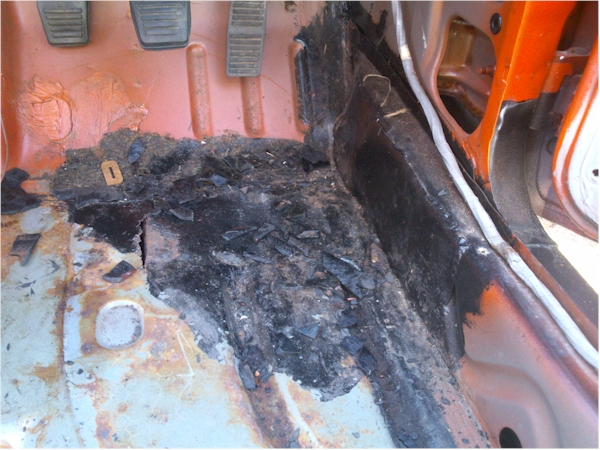
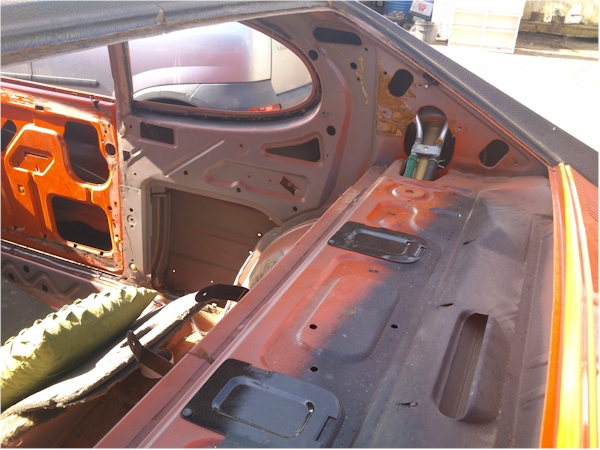
Interior Out
The stripdown has continued another week. Now most of the interior is out along with quite a lot of the exterior trim aswell.
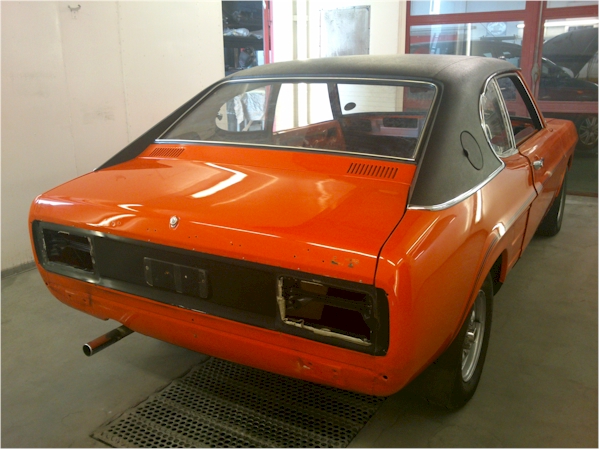

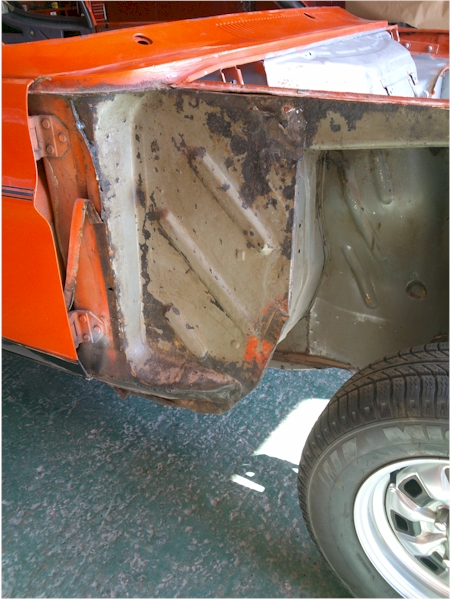
Still not quite sure how bad the body work is. The ‘stuck on’ sill still looks serious but we knew we’d have to replaced these. The good news is that the drivers door appears to be in pretty good condition. The nearside A post is a bit wobbly though, and there seems to be a lot of the black stuff in the cavity, probably to hide the problems.

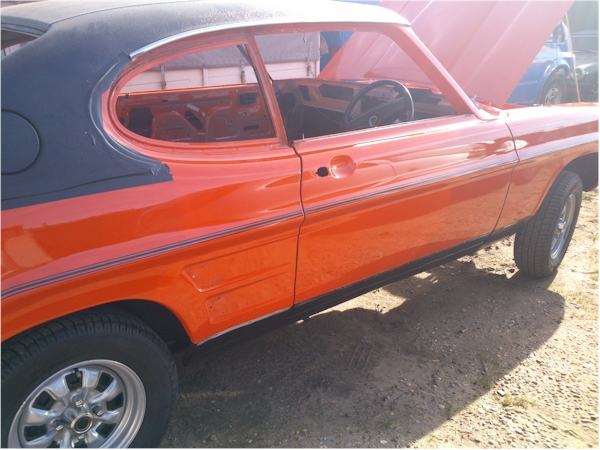
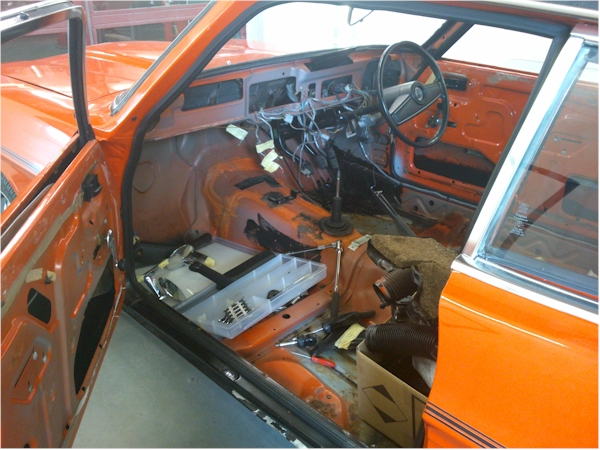
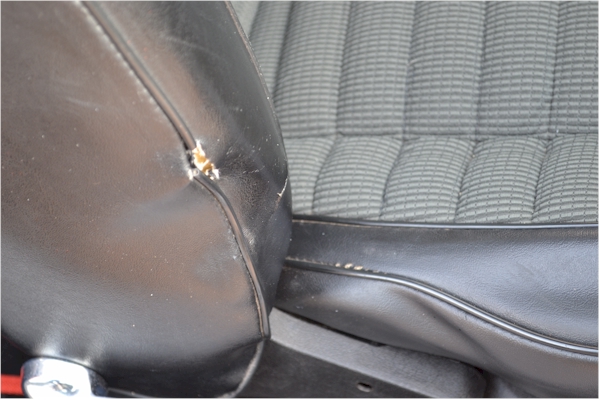
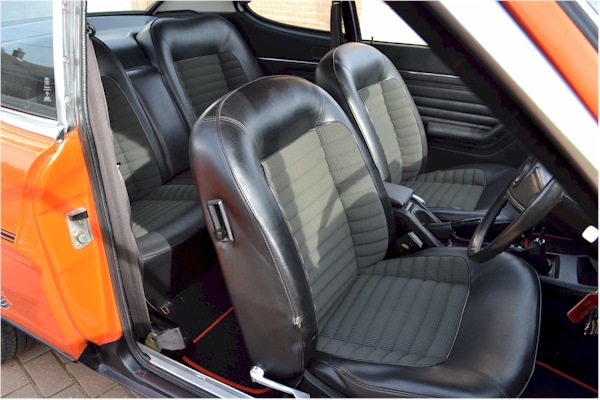
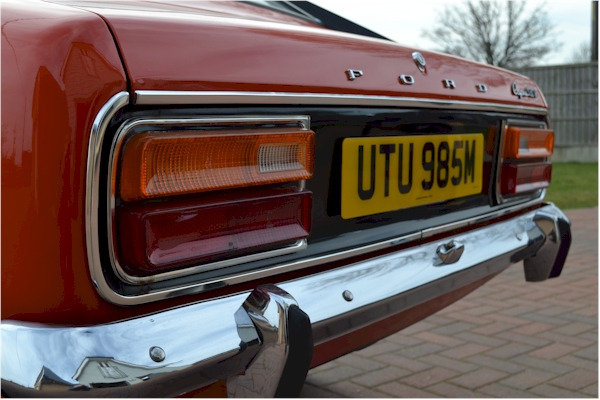
Bumpers Off
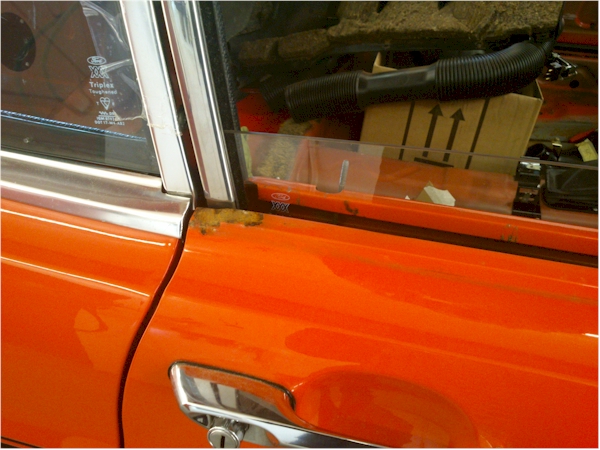
The bumpers are now off along with most of the trim, lights and the grill. All of this now needs to be cleaned and polished, which is my part of the project. The trim is probably the best part of the car at the moment.
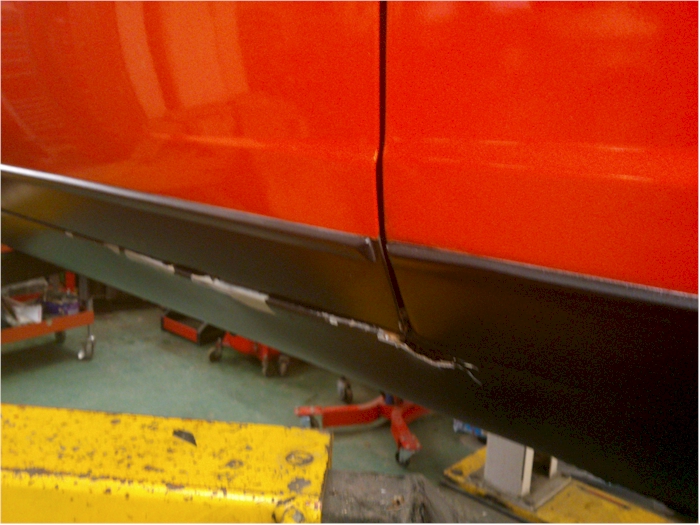
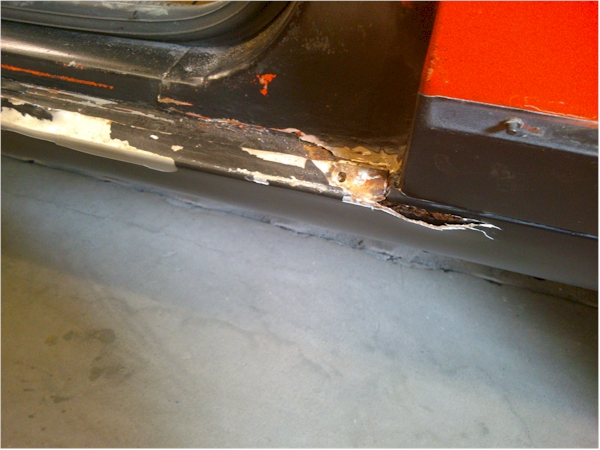
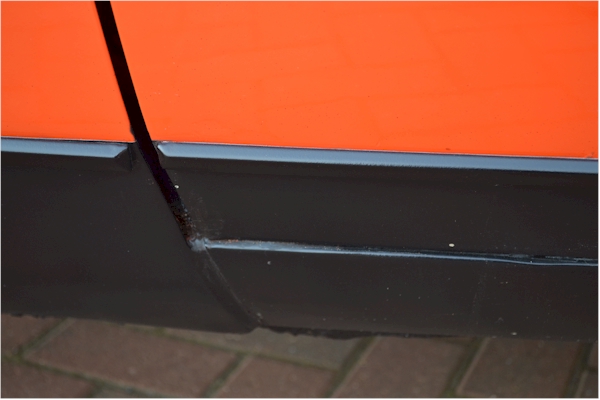
A closer look at the sills has unfortunately discovered that they’ve been stuck on over the old ones with mastic.
The nearside front wing looks like it suffered the same fate too. There isn’t a lot holding the bottom in place and the white stuff looks like bathroom mastic.
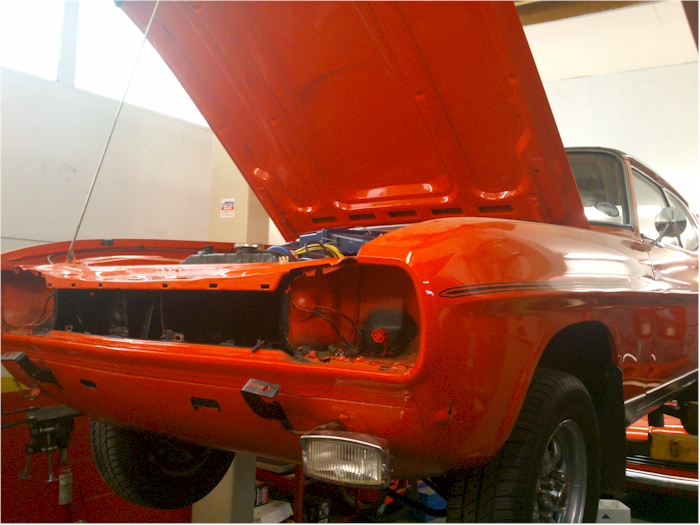

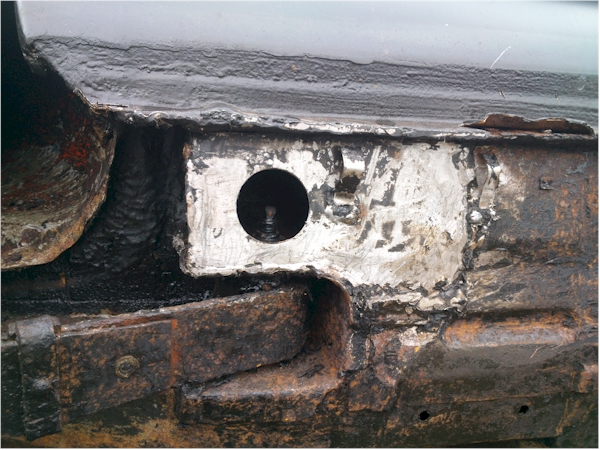
The front valence looks reasonable at first glance but the top edge has lost it’s tabs and the welding of the headlight bowls is pretty poor. We’ll probably need a new valance and bowls.
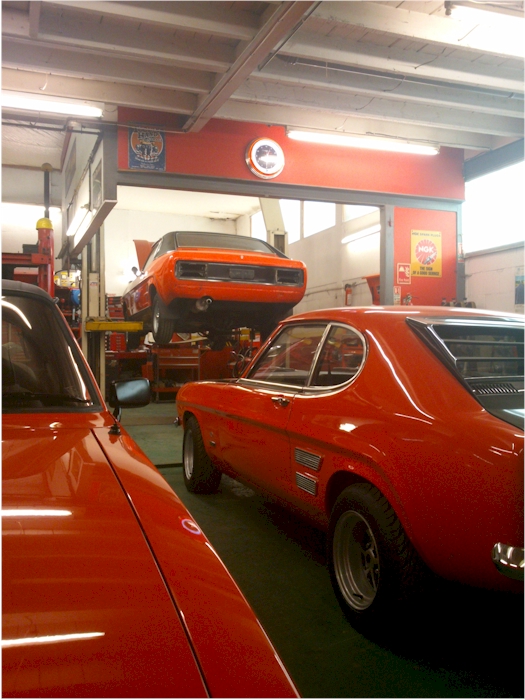
On it’s way
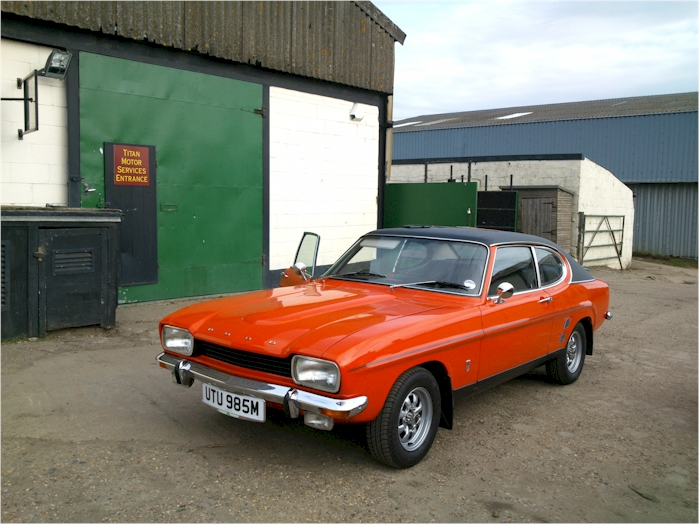 Delivered Zippy to Titan Motors today, Saturday 15 March, and it’s all ready for the project to begin. The fun should start now.
I’ll be back next weekend to drop off the front wings and to start collecting some of the bright work.
Empty the car
Spent an hour or two emptying Zippy of all the loose stuff, and making sure the battery was OK and letting the engine tick over for a while. He hasn’t been used since the Lions Car Show in September last year. Took a few pictures aswell just so that I can remind myself of how he was before the project. He’ll be off to Titan Motors next week.


Starts in 2 Weeks
The Capri (his name is Zippy – thanks to Judy and Sam) will be going off to Titan Motors on Saturday 15 March 2014 to begin it’s restoration.
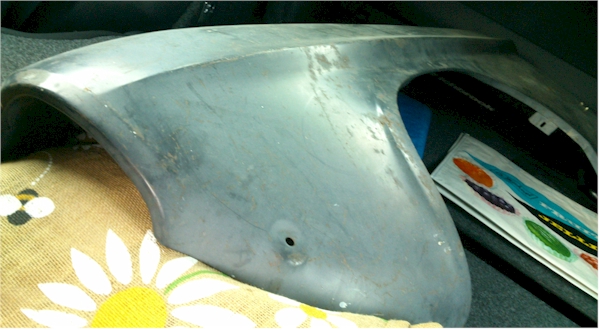
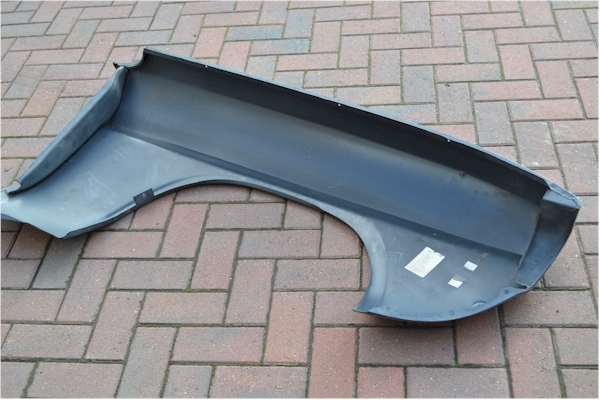
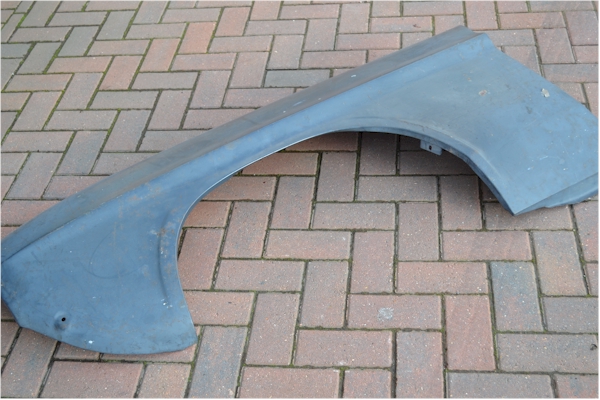
Having located and purchased (and did cost an arm and a leg) two genuine new old stock Ford wings, we’re now ready to get started. We’re hoping that we don’t find too many other problems on the way underneath all that pain and the layers of under seal. Fingers crossed.
The first thing will be to strip the car down to a shell. I’m in charge of most of the bright work and sorting out the interior.
The story really begins here.